A fluffy vanilla sponge rolled with sweet cherry swirls and billowy cream—festive, fresh, and stunning on any dessert table.
Yield: 10–12 slices
Temp: 350°F (175°C)
Time: 25–30 minutes + chilling
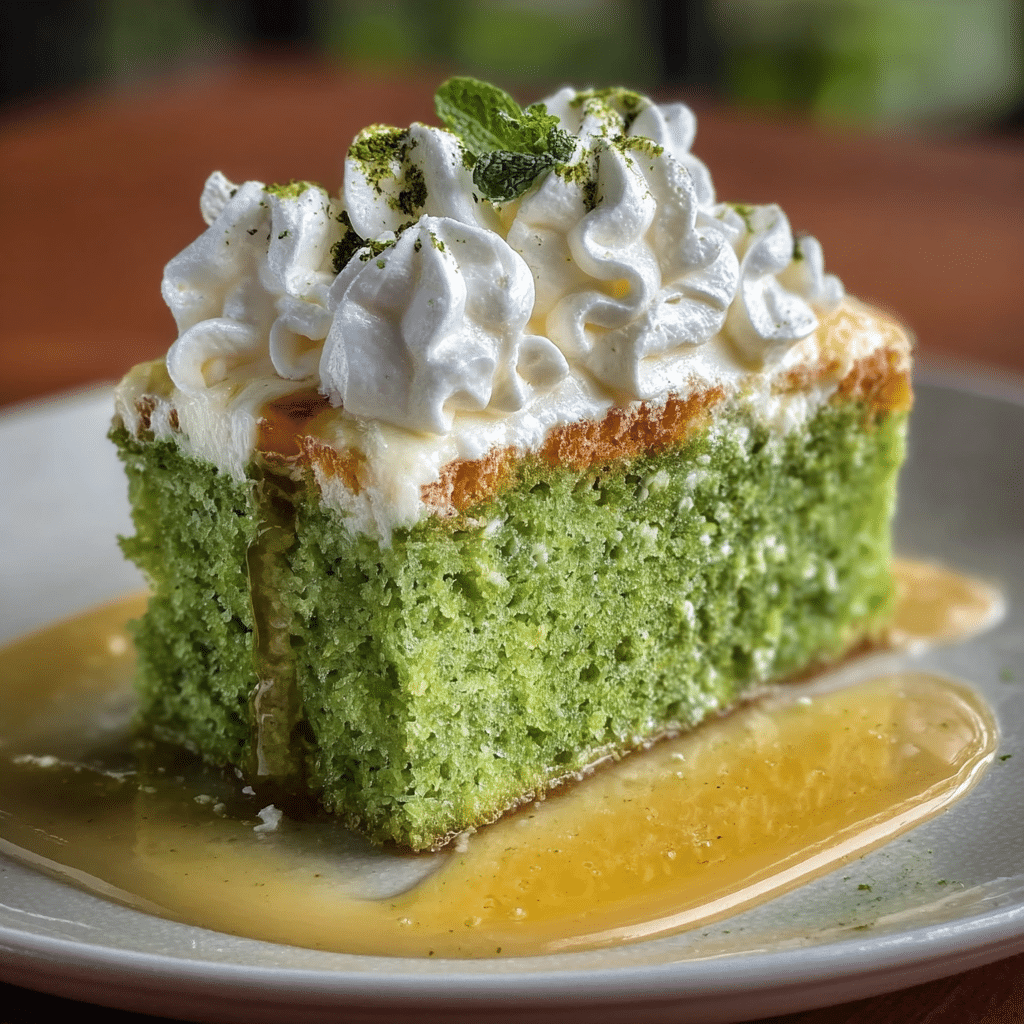
Cherry Cream Swiss Roll is one of those desserts that looks impressive but feels surprisingly light and easy to eat. Imagine a soft, springy vanilla sponge cake wrapped around a ribbon of cherry filling and clouds of softly whipped cream. Every slice reveals beautiful spirals of white and pink—like a celebration captured in cake form.
Unlike layer cakes that require stacking and heavy frosting, a Swiss roll keeps things uncomplicated. You bake one thin sheet of sponge, roll it up, fill it, then roll it again. The result is delicate but satisfying: tender cake, cool cream, and bright cherry flavor in every bite. It’s elegant enough for holidays and birthdays, yet simple enough for a weekend family dessert.
The magic of this recipe lies in the contrast of textures and flavors. The sponge is airy and light, the cream is rich but not heavy, and the cherries add a fruity freshness that keeps each slice from feeling too sweet. Once you’ve made it once, you’ll find yourself coming back to it whenever you need something both beautiful and delicious.
Why You’ll Love This Cherry Cream Swiss Roll
There are many desserts you can bring to a gathering, but this Swiss roll has a way of stealing the spotlight—without stealing your time or energy.
- It looks bakery-level fancy
Those perfectly spiraled slices look like something you’d find in a pastry display. Yet the technique is accessible even if you’re not a professional baker. - Light, airy, and not overly sweet
The sponge is made with whipped eggs instead of heavy amounts of butter, so the cake feels light. The whipped cream filling balances sweetness with a bit of richness. The cherries add brightness and a slight tart kick. - Perfect for celebrations and everyday treats
This roll fits in at birthdays, holidays, baby showers, or as a simple “because it’s Sunday” dessert. Dress it up with powdered sugar and fresh cherries, or serve it plain—it always works. - Customizable with different fillings
Once you master the base sponge, you can fill it with different fruits, flavored creams, or even chocolate. This cherry version is a wonderful starting point. - Make-ahead friendly
The roll actually benefits from some time in the fridge. That makes it ideal when you want to prep dessert ahead of a busy day.
Key Ingredients First
At the heart of any good Swiss roll are three simple ingredients that build the structure and texture of the cake:
- Eggs – Provide volume, structure, and that signature sponge-like texture. Whipping the eggs traps air, which makes the cake light and fluffy.
- Granulated sugar – Sweetens the batter and helps stabilize the whipped eggs, giving the sponge its soft, tender crumb.
- Cake flour – This lighter, finer flour keeps the crumb delicate and prevents the cake from becoming dense or tough.
These three ingredients are the backbone of your sponge. Once they’re well-treated—properly whipped, folded, and baked—the rest of the recipe falls into place.
Core Ingredients for Cherry Cream Swiss Roll
Below is a simple list to guide your shopping and preparation. You likely have many of these in your kitchen already.
For the Vanilla Sponge
- 4 large eggs, at room temperature
- 3/4 cup (150 g) granulated sugar
- 1 teaspoon vanilla extract
- 3/4 cup (90 g) cake flour, sifted
- 1 teaspoon baking powder
- 1/4 teaspoon salt
- 2 tablespoons milk, at room temperature
- 2 tablespoons neutral oil (such as vegetable or canola) or melted unsalted butter
For the Cherry Filling and Cream
- 1 cup (240 ml) heavy whipping cream, cold
- 3–4 tablespoons powdered sugar, sifted (adjust to taste)
- 1 teaspoon vanilla extract
- 1/2–2/3 cup cherry jam or cherry preserves, slightly warmed so it spreads easily
- Optional: 1 cup fresh cherries, pitted and very finely chopped (pat dry if very juicy)
For Garnish (Optional but Lovely)
- Additional whipped cream
- Fresh cherries or maraschino cherries
- Light dusting of powdered sugar
- Shaved white or dark chocolate
Equipment You’ll Nee
You don’t need anything too fancy—just a few basics:
- 10×15-inch jelly roll pan (or a similar rimmed baking sheet)
- Parchment paper
- Clean kitchen towel (thin cotton works best)
- Large mixing bowls
- Hand mixer or stand mixer
- Spatula (preferably silicone)
- Wire cooling rack
- Offset spatula or spoon for spreading fillings
Having everything ready before you begin will make the process smoother, especially when you’re working with a warm sponge that needs to be rolled quickly.
Step-by-Step

Follow these steps and you’ll end up with a soft, beautiful roll worthy of any celebration.
1. Prepare the Pan and Oven
- Preheat your oven to 350°F (175°C).
- Line a 10×15-inch jelly roll pan with parchment paper, allowing some overhang on the long sides for easy lifting after baking.
- Lightly grease the parchment paper to prevent any sticking.
A well-prepared pan is essential because the sponge layer is thin and delicate. Any sticking can cause tearing when you roll.
2. Whip the Eggs and Sugar
- In a large bowl, add the eggs and granulated sugar.
- Using a hand mixer or stand mixer, beat the mixture on medium-high speed for 6–8 minutes.
- The mixture should become pale, thick, and tripled in volume. When you lift the beaters, the batter should fall in a thick ribbon that sits on the surface for a few seconds before sinking back in.
This step is crucial. The air trapped in the egg mixture is what gives the sponge its light, springy texture. Take your time and whip it thoroughly.
- Gently beat in the vanilla extract just until combined.
3. Combine the Dry Ingredients
- In a separate bowl, sift together the cake flour, baking powder, and salt.
- Sift the dry mixture again if needed; you want it as light and lump-free as possible.
Cake flour and proper sifting help prevent heavy spots that could deflate your carefully whipped eggs.
4. Fold Dry Ingredients into the Egg Mixture
- Sprinkle about one-third of the dry ingredients over the egg mixture.
- Using a spatula, gently fold the dry ingredients in, cutting down through the center and sweeping around the sides of the bowl.
- Repeat with the remaining dry ingredients in two more additions, folding very gently to avoid deflating the batter.
Be patient and gentle. The goal is to keep as much air in the batter as possible while still incorporating all the flour.
5. Add Milk and Oil
- In a small bowl or measuring cup, whisk together the milk and oil (or melted butter).
- Take a few spoonfuls of the batter and stir them into this milk-oil mixture—this lightens the liquid so it folds more easily into the main batter.
- Pour the thinned milk-oil mixture back into the main bowl.
- Gently fold just until everything is evenly combined and no streaks remain.
This method helps keep the batter airy and ensures the cake bakes up tender and moist rather than dry.
6. Bake the Sponge
- Pour the batter into your prepared pan.
- Use an offset spatula to spread it into an even layer, all the way into the corners.
- Tap the pan lightly on the counter to remove any large bubbles.
- Bake in the preheated oven for 10–12 minutes, or until:
- The top is lightly golden.
- The cake springs back when lightly touched.
- A toothpick inserted into the center comes out clean or with just a few moist crumbs.
Because this cake is thin, it bakes quickly. Keep an eye on it during the last minutes to avoid overbaking, which can make the sponge dry and more likely to crack.
7. Roll the Sponge While Warm
- While the cake is baking, lay a clean kitchen towel on your counter and sprinkle it lightly with powdered sugar. This prevents sticking.
- When the cake is done, remove it from the oven and immediately run a knife along the edges if needed to loosen it from the pan.
- Carefully turn the cake out onto the sugared towel, parchment side up.
- Gently peel off the parchment paper.
- Starting from one of the short ends, roll the warm cake together with the towel into a tight but gentle log. Don’t force it; guide it.
- Let the rolled cake cool completely at room temperature. This “memory roll” step helps the cake keep its shape later when you add the filling.
Rolling while warm is key. If the cake cools flat, it will resist rolling and is more likely to crack.
8. Prepare the Cherry Cream Filling
Once the cake is cool, make the filling:
- In a chilled bowl, add the cold heavy whipping cream, powdered sugar, and vanilla extract.
- Beat on medium-high speed until medium peaks form—creamy and soft, not overly stiff.
- In a separate small bowl, gently warm the cherry jam or preserves just enough to loosen it (a few seconds in the microwave or over gentle heat). It should be spreadable but not hot.
- If using fresh cherries, chop them finely and pat them dry with a paper towel to remove excess juice.
You want the cream to be sturdy enough to hold its shape but still smooth and spreadable. Over-beaten cream can turn grainy and difficult to spread.
9. Fill and Re-Roll the Cake
- Carefully unroll the cooled sponge from the towel. It may resist slightly, but it should mostly hold a curved shape.
- Spread a thin layer of cherry jam over the surface of the cake, leaving a small border (about 1/2 inch) along the edges to prevent overflow when rolling.
- Spread the whipped cream evenly over the jam. If using fresh cherries, sprinkle them over the cream.
- Starting from the same short end you used originally, gently roll the cake back up—this time without the towel inside. Use the towel underneath to help guide the roll tightly but gently.
- Once rolled, wrap the log tightly in plastic wrap to help it hold its shape.
- Refrigerate for at least 1–2 hours, or until well chilled and set.
Chilling allows the cream to firm up slightly and the flavors to meld, making the roll easier to slice cleanly.
10. Garnish and Serve
- Remove the Swiss roll from the fridge and unwrap it.
- If desired, trim the ends with a sharp knife for a clean, professional look.
- Dust the top lightly with powdered sugar.
- Decorate with small swirls of whipped cream, fresh cherries, and perhaps a few chocolate shavings.
- Slice into 10–12 pieces with a sharp, serrated knife, wiping the blade between cuts for neat slices.
Flavor Variations and Creative Twists
One of the joys of Swiss rolls is how easily you can change the flavor profile while using the same base sponge.
- Chocolate-Cherry Swiss Roll
Replace 2 tablespoons of the cake flour with unsweetened cocoa powder to create a light chocolate sponge. The cherries and cream will taste even more decadent against a chocolate background—like a twist on Black Forest cake. - Almond-Cherry Swiss Roll
Add 1/2 teaspoon almond extract to the batter and sprinkle finely chopped toasted almonds over the cherry jam before adding the cream. Almond and cherry are a classic flavor pairing. - Lemon-Cherry Roll
Add 1–2 teaspoons of lemon zest to the sponge batter and a teaspoon of lemon juice to the cream. The citrus notes sharpen the cherry flavor and make the dessert even more refreshing. - Cherry Berry Mix
Combine cherry jam with raspberry or strawberry preserves for a mixed-berry swirl. This adds complexity and a slightly tangier flavor. - Lighter Version
Use lightly sweetened Greek yogurt folded into the whipped cream or as a partial substitute to create a tangy, lighter filling.
These creative twists allow you to adapt the Swiss roll to the season, the occasion, or whatever fruit preserves you have on hand.
How to Serve Cherry Cream Swiss Roll
This dessert presents beautifully and invites you to play with serving ideas.
- Chilled and Cleanly Sliced
For the neatest spirals, serve the roll well chilled. The cream holds its shape, and each slice shows a distinct pattern of cake, cherry, and cream. - With Extra Sauce
If you have extra cherry jam, thin it with a splash of warm water or a bit of lemon juice to create a quick sauce. Drizzle it on the plate before placing a slice of roll on top for a restaurant-style presentation. - With Ice Cream or Sorbet
A scoop of vanilla ice cream or lemon sorbet can add another layer of texture and temperature contrast—especially nice on warmer days. - Decorated for Holidays
For festive occasions, garnish the top with a mix of red cherries, tiny mint leaves, or even edible flowers. The red-and-white spiral already looks very Christmas-friendly, Valentine-ready, and perfect for spring celebrations.
Whether you serve it casually on a family table or on your most elegant dessert plates, this Swiss roll always feels special.
Tips & Variations (For Success Every Time)
- Use room temperature eggs
Cold eggs don’t whip as well. Let them sit out for about 20–30 minutes before starting. - Don’t rush the whipping step
The eggs and sugar must be very thick and pale. If you under-whip, the cake may turn out dense and more prone to cracking. - Fold gently, not vigorously
When adding the flour and liquids, use slow, deliberate folding motions. Over-mixing will knock out air and make the cake heavy. - Bake just until done
A dry sponge cracks more easily. Remove the cake from the oven as soon as it springs back and passes the toothpick test. - Roll while warm
This is non-negotiable. Rolling the cake while it’s still warm teaches it the “shape” it should hold once filled. - Don’t overfill
Too much cream or jam can cause the filling to squeeze out when you roll. Aim for a moderately generous but even layer. - Chill before slicing
Patience pays off. A properly chilled roll slices smoothly, with minimum smearing and squashing.
Storage, Make-Ahead, and Freezing
- Refrigerator Storage
Store the Swiss roll tightly wrapped or in an airtight container in the refrigerator. It will keep well for 2–3 days. Over time, the sponge absorbs some moisture from the filling, becoming even more tender. - Make-Ahead
You can prepare the roll a day in advance, which makes it perfect for entertaining. Decorate the top closer to serving time for the freshest appearance. - Freezing
For longer storage, you can freeze the Swiss roll:- Chill the filled roll until firm.
- Wrap tightly in plastic wrap, then in aluminum foil.
- Freeze for up to 1 month.
- To serve, thaw overnight in the refrigerator, then dust with powdered sugar and add fresh cherries or whipped cream before slicing.
Final Thoughts
Cherry Cream Swiss Roll is a beautiful example of how a few simple ingredients—eggs, sugar, flour, cream, and fruit—can turn into something truly special. The vanilla sponge is light and airy, the cream is soft and luxurious, and the cherries bring a bright, fruity note that keeps each bite refreshing.
Even if you’ve never made a Swiss roll before, this recipe guides you gently through each step: whipping, folding, baking, rolling, and filling. Once you’ve tried it, you’ll see that it’s less intimidating than it looks—and far more rewarding than many desserts that require much more effort.
Whether you’re celebrating a milestone, hosting a holiday meal, or just surprising your family with something pretty and delicious, Cherry Cream Swiss Roll is a dessert that delivers charm, flavor, and a little bit of magic in every spiral.
FAQ
Can I use all-purpose flour instead of cake flour?
Yes, you can, but the texture may be slightly less delicate. If using all-purpose flour, you can lighten it by removing 2 tablespoons of flour from the 3/4 cup and replacing them with 2 tablespoons of cornstarch, then sifting well. This mimics cake flour and helps keep the sponge tender.
Can I use fresh cherries instead of jam?
Fresh cherries are wonderful, but they need a bit of help to stick to the cake. You can:
- Use a thin layer of cherry jam or a simple syrup underneath the chopped cherries.
- Or cook the cherries briefly with a little sugar and lemon juice to create a quick compote, then cool it completely before spreading.
Using at least a thin layer of jam or compote ensures the fruit adheres well and doesn’t fall out when you slice the roll.
What if my cake cracks when I roll it?
Minor cracks are very common and nothing to worry about. Once you fill and roll the cake, the cracks are often hidden on the inside; any small imperfections on the outside can be covered with powdered sugar, whipped cream, or decorations. To reduce cracking:
- Don’t overbake.
- Roll the cake while it’s still warm.
- Avoid pressing too hard when rolling.
Can I make this recipe without dairy?
Yes, with a few substitutions:
- Use a dairy-free milk (like almond or soy milk) in the sponge.
- Replace the heavy cream with a whippable non-dairy cream or chilled coconut cream.
- Choose a cherry jam that’s dairy-free (most are).
The texture and flavor will change slightly, but you can still achieve a delicious roll.
How do I keep the cream from becoming runny?
Make sure:
- Your cream is very cold before whipping.
- You whip it only until thick and stable (medium to stiff peaks).
- You don’t add warm jam directly into the cream. Keep the jam slightly warm for spreading on the sponge, but let it cool a bit so it doesn’t melt the cream when in contact.
Can I flavor the cream differently?
Absolutely. You can add:
- A splash of kirsch (cherry liqueur) or amaretto for an adult twist.
- A bit of lemon zest for brightness.
- A spoonful of cream cheese for a tangy, richer filling (beat the cream cheese smooth with powdered sugar before folding in whipped cream).