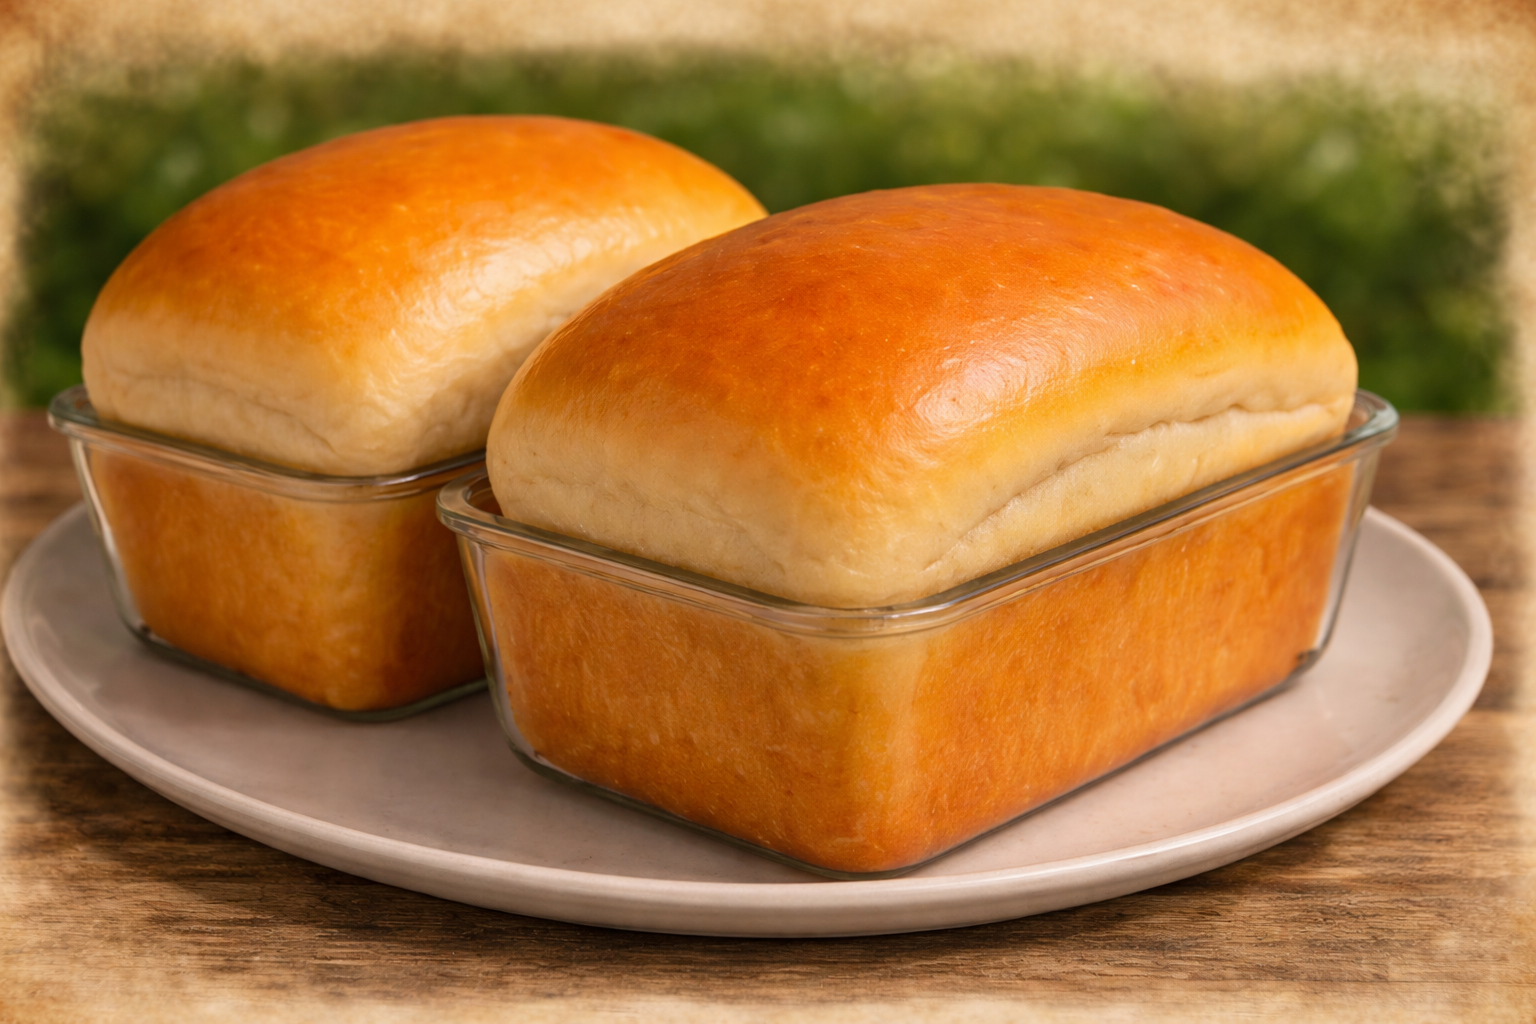
There is something deeply comforting about the smell of freshly baked bread drifting through the house, and Amish White Bread captures that feeling better than almost any other recipe. Soft, slightly sweet, and perfectly fluffy, this classic homemade loaf is the kind of bread that instantly turns an ordinary day into something special, whether you are baking for family, friends, or simply for yourself.
This bread has stood the test of time for a reason. It is simple, reliable, and incredibly satisfying to make, even if you are new to baking. With just a handful of pantry staples and a little patience, you can create two beautiful loaves that slice like a dream and taste even better slathered with butter or used for sandwiches.
Why You Will Love This Recipe
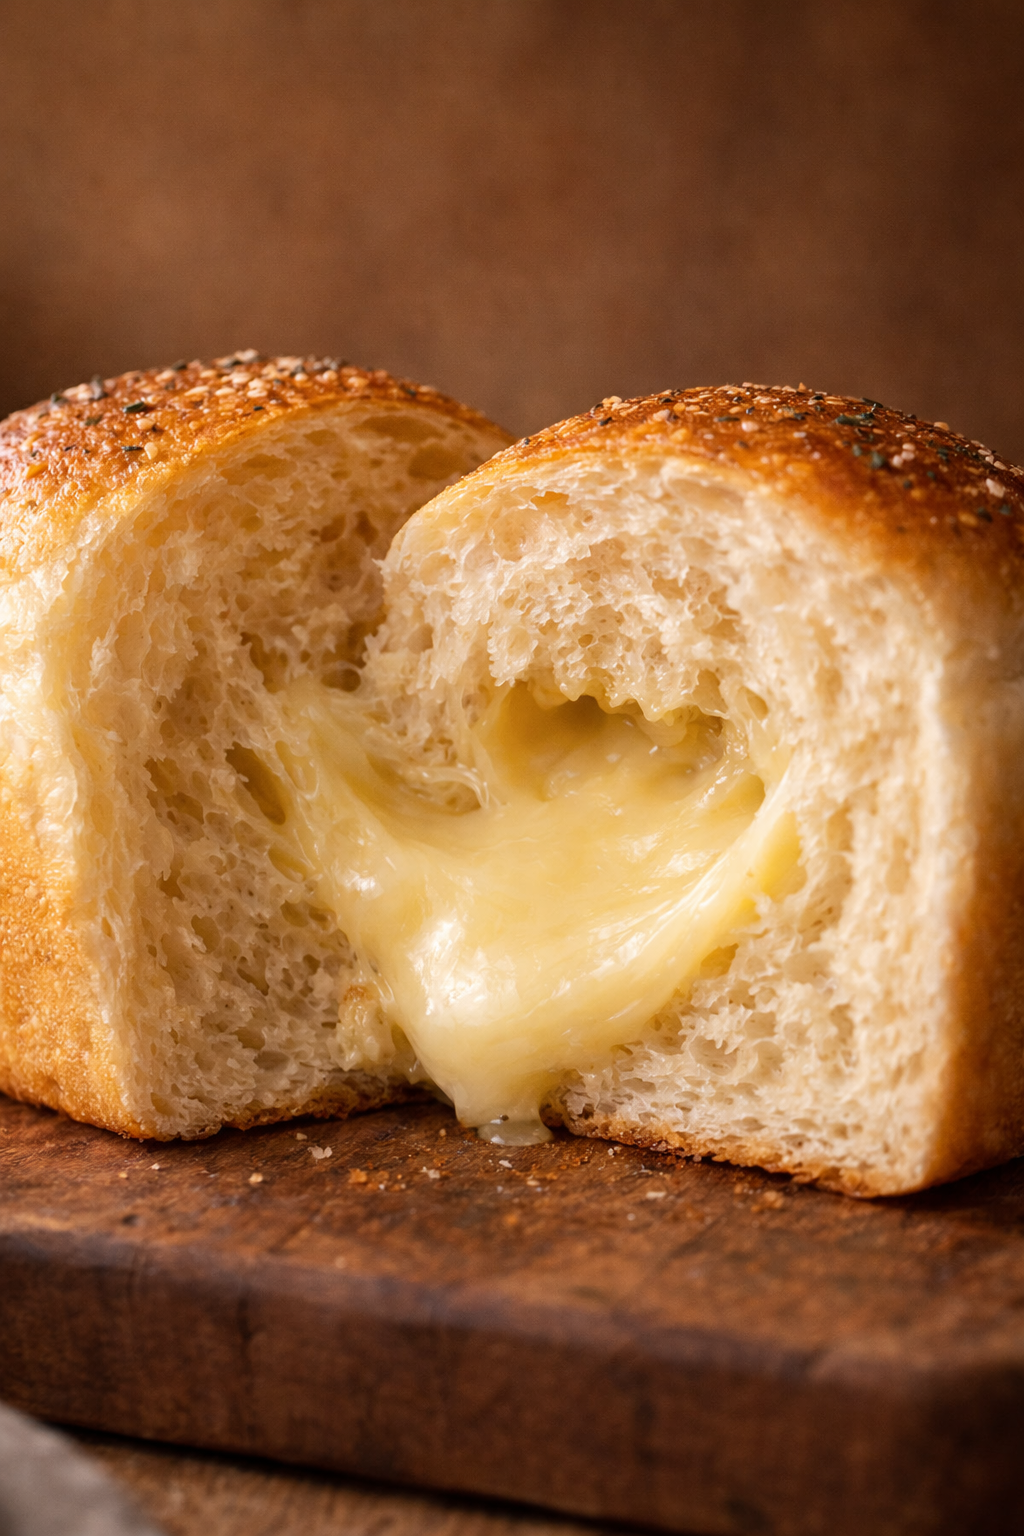
- Soft, tender crumb that stays fresh for days
- Light sweetness that pairs well with sweet or savory toppings
- Straightforward process perfect for beginners
- Makes two generous loaves in one batch
- Freezer-friendly and great for meal prep
- Fills your kitchen with the best homemade aroma
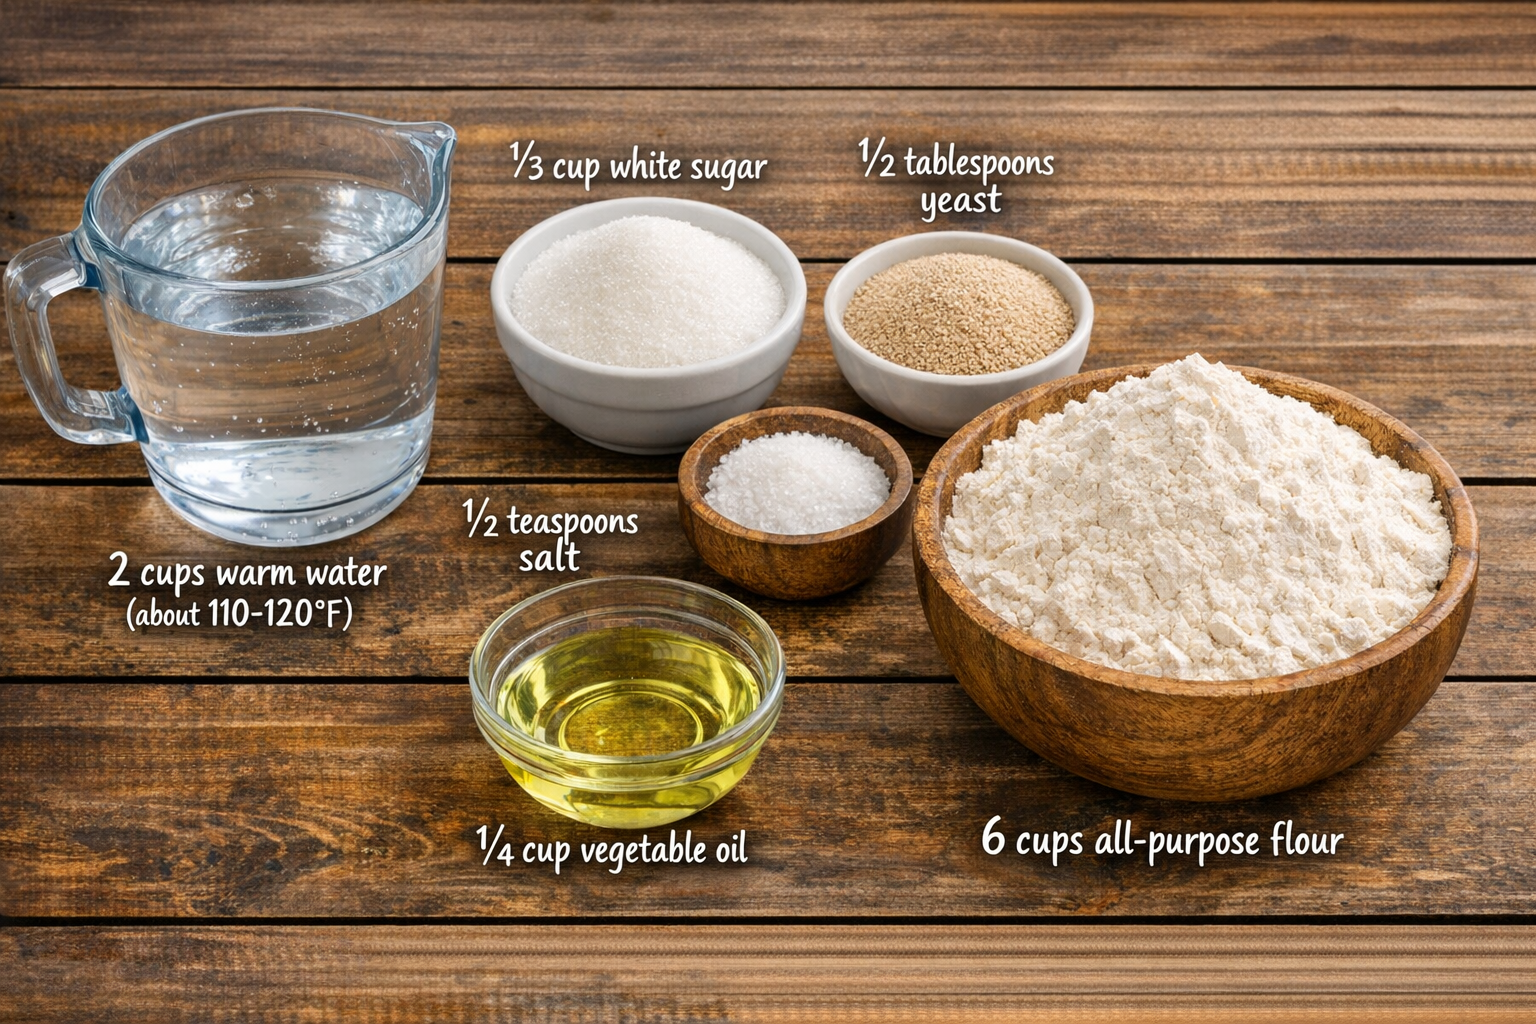
Ingredients (With Exact Amounts)
• 2 cups warm water (about 110-120°F) – Activates the yeast and helps the dough come together smoothly.
• ⅔ cup white sugar – Feeds the yeast and gives the bread its signature gentle sweetness.
• 1½ tablespoons yeast – Provides the rise that makes the bread light and fluffy.
• 1½ teaspoons salt – Balances the sweetness and enhances overall flavor.
• ¼ cup vegetable oil – Adds moisture and keeps the bread soft.
• 6 cups all-purpose flour – Forms the structure and body of the bread.
Step-by-Step

- Activate the Yeast
Begin by pouring the warm water into a large mixing bowl, making sure the temperature stays between 110–120°F. Water that is too hot can kill the yeast, while cooler water may not activate it properly. Add the white sugar and stir briefly until it dissolves. Sprinkle the yeast evenly over the surface and allow it to sit undisturbed for 5 to 15 minutes. When the mixture becomes foamy and slightly bubbly, the yeast is active and ready to use. - Build the Dough
Add the salt and vegetable oil directly into the yeast mixture. Stir gently to combine, then add 3 cups of the flour. Mix until a thick batter forms and no dry spots remain. If using a stand mixer, switch to a dough hook attachment and gradually add the remaining flour. Mix until the dough pulls away from the sides of the bowl and begins forming a soft, cohesive ball. - Knead and First Rise
Transfer the dough onto a lightly floured surface. Knead for about 1 minute, using the heel of your hand to push the dough away and folding it back over itself. The dough should feel smooth, elastic, and slightly tacky but not sticky. Place it into a greased bowl, turning once so both sides are coated. Cover with a warm, damp towel or plastic wrap and let it rise in a draft-free area for approximately 1 hour, or until doubled in size. - Shape the Loaves
Once the dough has risen, gently punch it down to release excess air. Divide the dough into two equal portions using a knife or dough scraper. Flatten each portion into a rectangle, then roll it tightly from one short end to the other, similar to a jelly roll. Pinch the seams closed and tuck the ends under slightly to create a smooth loaf shape. Place each loaf seam-side down into a greased 9×5-inch loaf pan. - Final Rise and Bake
Cover the pans loosely and allow the dough to rise again for 30 to 50 minutes. The dough should dome just slightly above the edges of the pan when ready. Preheat your oven to 350°F (175°C). Bake the loaves for 25 to 30 minutes, watching for a deep golden-brown color. The bread should sound hollow when gently tapped on top, indicating it is fully baked. - Cool and Serve
Remove the loaves from the oven and, if desired, brush the tops with melted butter for a shiny, soft crust. Let the bread cool in the pans for about 10 minutes before turning it out onto a wire rack. Allow the loaves to cool completely before slicing to ensure clean cuts and the best texture.
Variations & Customizations
Honey-Kissed Loaves
Replace part of the sugar with honey for a slightly deeper sweetness while maintaining the bread’s soft texture.
Dinner Roll Version
Divide the dough into smaller portions instead of loaves and bake in a greased pan for fluffy homemade rolls.
Extra-Soft Crust
Brushing the loaves with melted butter both before and after baking creates an even softer crust.
Sandwich Bread Shape
Roll the dough more tightly before placing it in the pan for uniform slices perfect for sandwiches.
Golden Top Finish
Bake the bread until deeply golden for a more pronounced crust flavor without sacrificing softness inside.
Frequently Asked Questions
Why didn’t my yeast foam?
This usually means the water temperature was off or the yeast was inactive. Make sure the water is warm but not hot and always check yeast freshness before starting.
Can I knead the dough longer?
Yes, but only slightly. Over-kneading can make the bread dense, so stop once the dough feels smooth and elastic.
How do I know when the bread is done baking?
The loaves should be golden brown and sound hollow when tapped on top. An internal temperature of about 190°F also indicates doneness.
Why should I let the bread cool before slicing?
Cooling allows the crumb to set properly, preventing a gummy texture and ensuring clean slices.
How should I store Amish White Bread?
Store cooled bread in an airtight container at room temperature for up to 3 days, or freeze for longer storage.
Nutrition & Time Table
| Category | Amount |
|---|---|
| Prep Time | 20 minutes |
| Cooking Time | 30 minutes |
| Total Time | 50 minutes |
| Calories | ~160 per slice |
| Protein | ~4g |
| Carbohydrates | ~30g |
| Fat | ~3g |
RELATED RECIPES
RELATED RECIPES
Print

Step by Step Guide to Making Amish White Bread
- Total Time: 50 minutes
Description
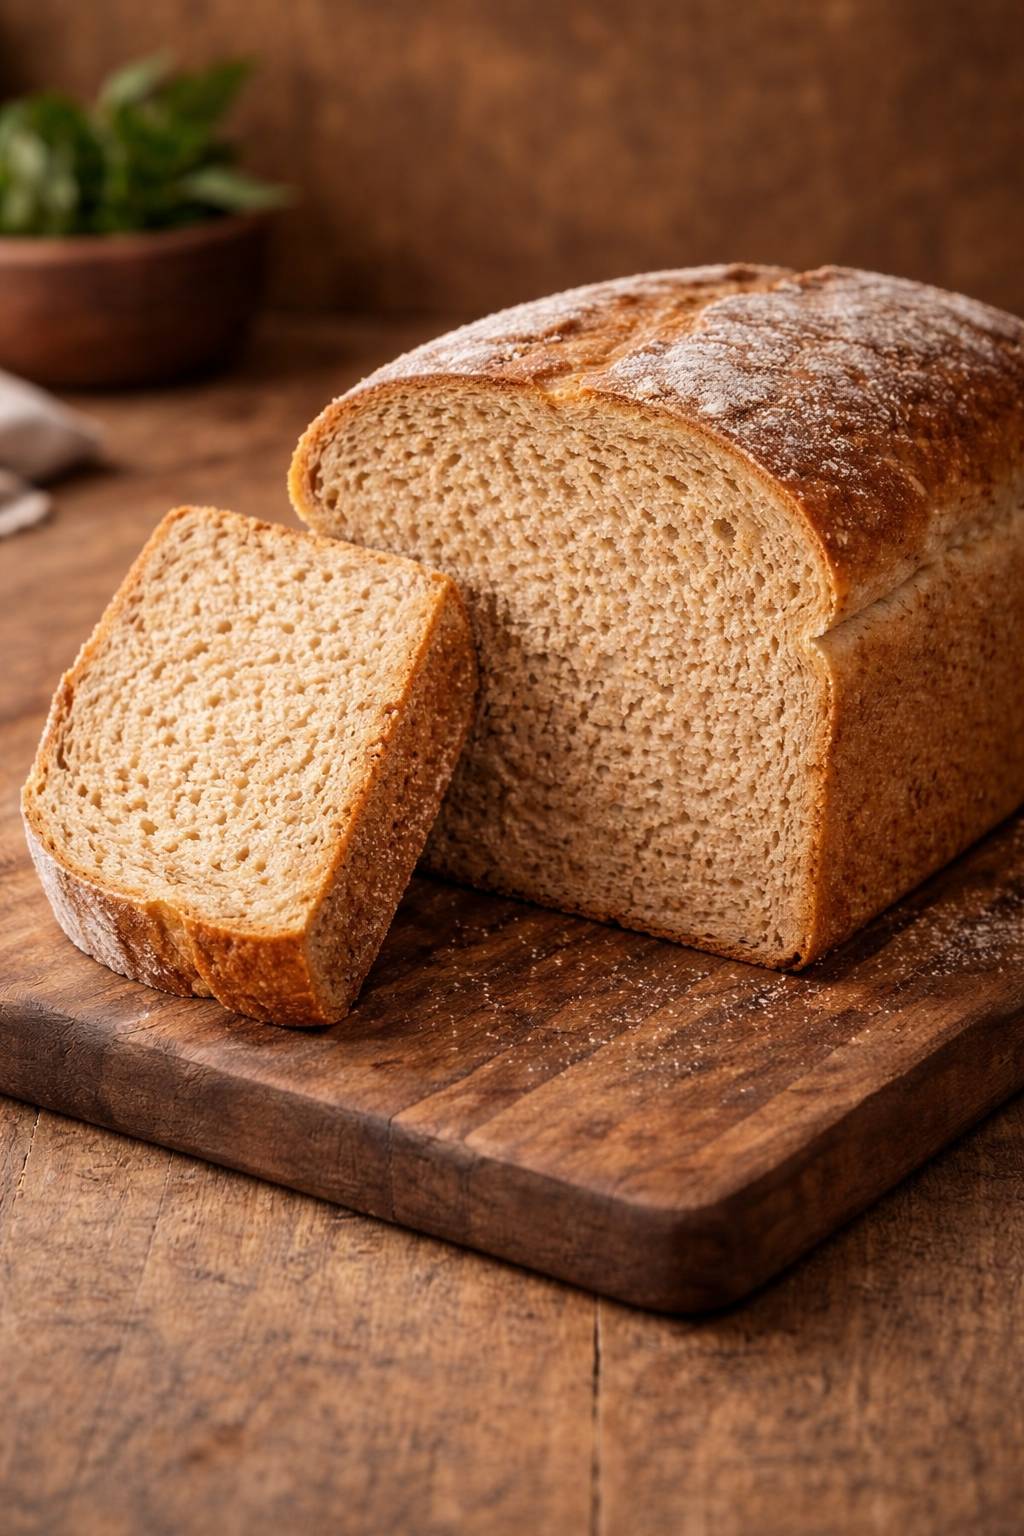
Soft, slightly sweet, and perfectly fluffy, this Amish White Bread is a timeless homemade classic.
Perfect for sandwiches, toast, or enjoying warm with butter.
Ingredients
• 2 cups warm water (about 110-120°F)
• ⅔ cup white sugar
• 1½ tablespoons yeast
• 1½ teaspoons salt
• ¼ cup vegetable oil
• 6 cups all-purpose flour
Instructions
1. Combine warm water and sugar in a large bowl. Sprinkle yeast on top and let sit until foamy.
2. Add salt, vegetable oil, and 3 cups of flour. Mix well.
3. Gradually add remaining flour until dough pulls away from the bowl.
4. Knead briefly until smooth, then place in a greased bowl and let rise until doubled.
5. Punch down dough, divide into two portions, shape, and place in greased loaf pans.
6. Let rise again until domed, then bake at 350°F for 25–30 minutes.
7. Cool slightly, remove from pans, and cool completely before slicing.
- Prep Time: 20 minutes
- Cook Time: 30 minutes
Nutrition
- Calories: ~160 per slice
- Fat: ~3g
- Protein: ~4g